How To Measure An Awkward Alcove For Freestanding Shelves
A practical step-by-step guide to how to measure an awkward alcove for freestanding shelves, including preparation, instructions, common issues, tips, and next steps.
How To Measure An Awkward Alcove For Freestanding Shelves
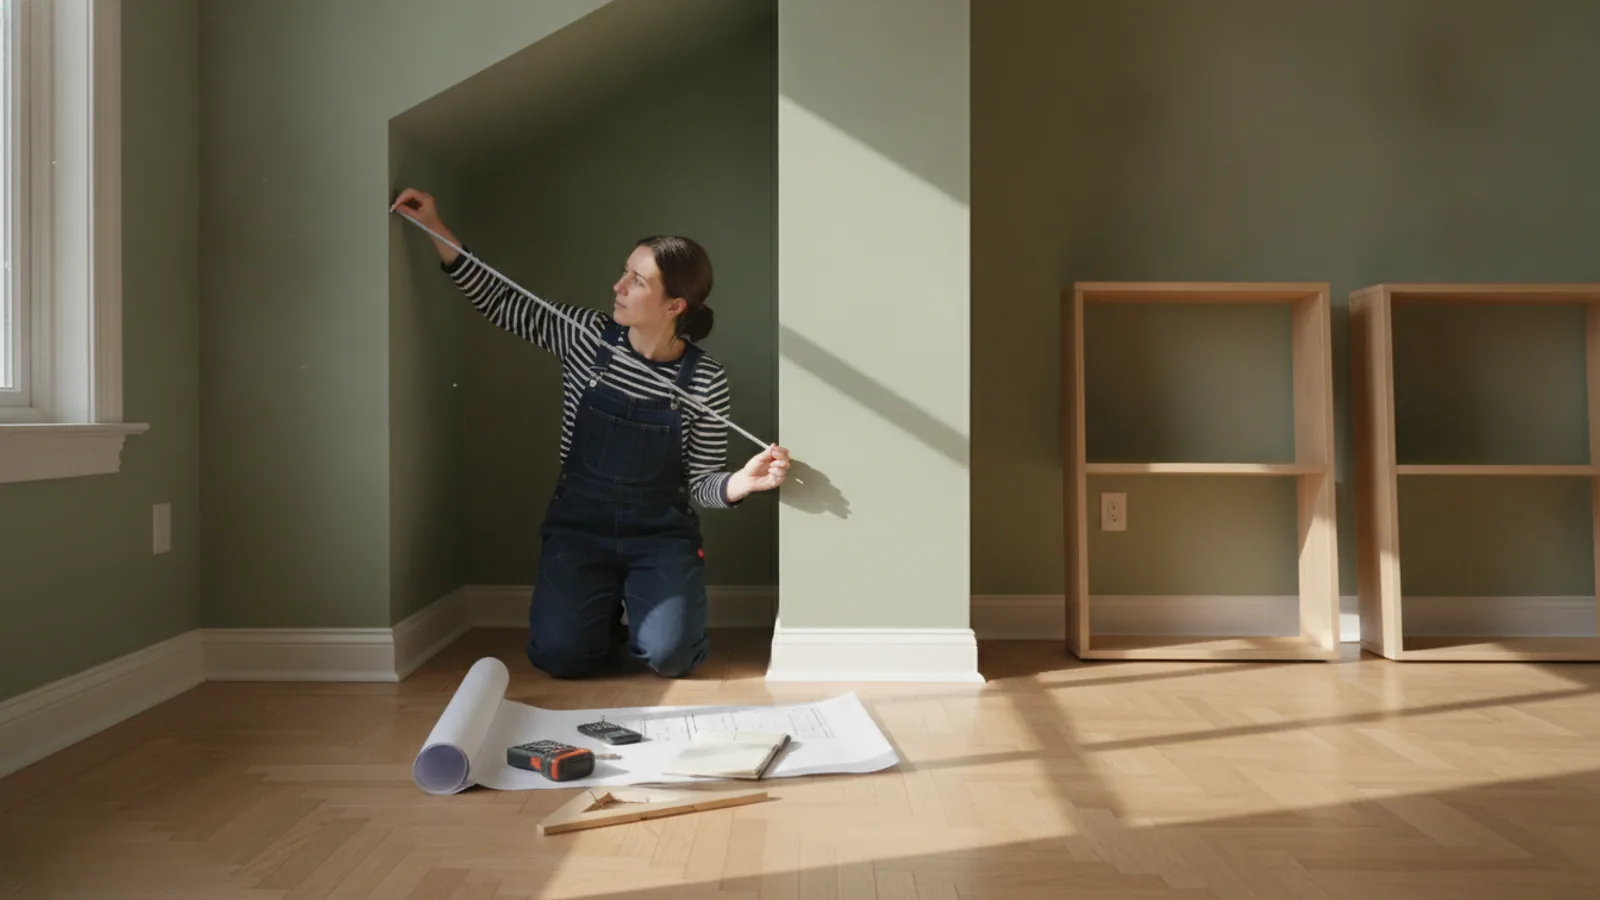
Measuring an awkward alcove for freestanding shelves requires more than just a single width measurement. This guide details how to account for uneven walls, non-square corners, and floor variations to ensure your shelves fit perfectly. We will cover the essential tools, a step-by-step measurement process for width, depth, and height at multiple points, and how to create a clear diagram to avoid common installation frustrations and ensure a stable, attractive result.
Fast Answer
- Measure the alcove's width and depth at three heights: bottom, middle, and top. Always use the smallest of these measurements for your shelf dimensions to ensure it will fit.
- Check if the alcove is square using the 3-4-5 method or a large square. Note any variations, as this will affect how the shelving unit sits against the back wall.
Before You Start
- Clear the alcove completely. Remove all items, decorations, and any temporary fixtures to get an unobstructed view and access to all surfaces.
- Gather your tools: a quality retractable metal tape measure, a spirit level, a notepad and pencil, and a large framing square or a second tape measure for checking angles.
- Clean the walls, floor, and ceiling of the alcove. Dust and debris can interfere with accurate measurements and marking, so ensure all surfaces are clear.
- Plan where you will record your measurements. Draw a simple sketch of the alcove on your notepad to label each dimension as you take it, preventing confusion.
Step-by-Step Instructions
Measure Width at Bottom, Middle, and Top
Start by measuring the width of the alcove, but do not rely on a single measurement. Begin at the very back of the alcove, against the back wall. Measure the width from the left wall to the right wall at three distinct heights: near the floor, roughly at the midpoint of the alcove's height, and near the ceiling. Record each of these three numbers on your diagram immediately. Alcove walls are rarely perfectly parallel, and variations can be significant. After measuring at the back, repeat this entire process at the front edge of the alcove, again taking three width measurements (bottom, middle, top). You will now have six width measurements in total. As a practical check, compare the back measurements to the front measurements at each corresponding height. This comparison reveals if the side walls splay inwards or outwards. This check is crucial because it informs the maximum shelf width that can be physically maneuvered into the space.
Determine the Usable Depth
Depth measurements are just as critical as width, especially for ensuring the shelving unit doesn't protrude or sit too far back. Measure the depth of the alcove on both the left and right sides. Start on the left side and measure from the back wall to the front edge of the wall at three heights: bottom, middle, and top. Record these three measurements. Now, repeat the exact same process on the right side of the alcove, again taking three measurements at the same corresponding heights. This gives you a total of six depth measurements. In older homes, it is common for one side to be deeper than the other. As a practical check, run your hand along the back wall to feel for any significant bows or bumps that could interfere with the back of the shelving unit. This physical check is important because a major protrusion could reduce the usable depth even if your tape measure shows a larger number from corner to corner.
Take Height Measurements Carefully
The height determines the maximum vertical space available for your freestanding unit. Measure the vertical distance from the floor to the ceiling at several points within the alcove. Start by taking a measurement on the left side, then in the center, and finally on the right side. This will help you identify any sagging in the ceiling or unevenness in the floor. After these three primary measurements, it is also wise to take height measurements at both the back left and back right corners. This provides a complete picture of the vertical space. Make sure your tape measure is held perfectly straight and vertical for each measurement. A slanted tape will give you an inaccurate, longer reading. As a practical check, place a long spirit level on the floor of the alcove to see if it is level. This check matters because an unlevel floor can cause the entire shelving unit to tilt, affecting stability and appearance.
Verify the Alcove's Angles
An alcove that is not square can make a standard rectangular shelving unit look misaligned or prevent it from fitting snugly against the back wall. The most reliable way to check for squareness is the 3-4-5 method. Measure 3 units (e.g., 30 cm) out from a corner along one wall and make a small pencil mark. Then measure 4 units (40 cm) out from the same corner along the adjacent wall and make another mark. Now, measure the diagonal distance between these two marks. If the distance is exactly 5 units (50 cm), the corner is a perfect 90-degree angle. If it is more or less, the corner is not square. Perform this check on both back corners of the alcove. A practical check is to use a large framing square pushed firmly into each corner. This gives you an immediate visual confirmation of how true the angle is. This step is vital because a non-square alcove may require a custom-tapered shelf or leaving a deliberate gap at the back.
Note All Obstacles and Features
Your measurements are not complete until you account for every feature within the alcove. Look for and carefully measure the location and size of any obstructions, such as electrical outlets, light switches, vents, pipes, or data ports. For an outlet, for example, measure its distance from the floor, from the nearest side wall, and its height and width. Note these on your diagram precisely. Also, pay close attention to baseboards or skirting boards, picture rails, or coving at the ceiling. Measure their thickness (how far they protrude from the wall) and their height. This is critical information, as these features will reduce the usable floor space and may interfere with the back or sides of your shelving unit. As a practical check, run a long straightedge or level vertically along the walls to identify any significant bows or dips. This check is important because a bowed wall could create an unsightly gap or prevent the unit from sitting flush.
Synthesize and Finalize Your Plan
Now, consolidate all your raw numbers into a clear, final working diagram. Start with a clean sheet of paper. Draw the alcove from a top-down perspective (a floor plan) and a front-facing perspective (an elevation). On the top-down view, clearly label the smallest width and smallest depth measurements you recorded. These are your critical 'maximum' dimensions for the shelf. Indicate where the corners are not square. On the front-facing view, label the minimum height. Also, mark the precise locations and dimensions of all obstructions like outlets or skirting boards. Use the smallest of all your width measurements for the shelf width, and the smallest depth for the shelf depth. As a final practical check, read every number on your diagram aloud and point to the corresponding location on your rough notes to confirm you have transcribed everything correctly. This simple verification step prevents costly errors that arise from misreading your own handwriting under pressure.
Quick Reference
| Situation | Action | Why it helps |
|---|---|---|
| My alcove walls are not parallel. | Use the narrowest width measurement taken from the front and back of the alcove as your final shelf width. Subtract an additional tolerance for ease of fitting. | This guarantees the shelving unit will fit through the narrowest point of the opening and won't get stuck during installation. |
| The floor of the alcove is sloped. | Select a freestanding shelving unit with adjustable feet or plan to use shims to level the unit once it is placed in the alcove. | A level shelf is crucial for stability and to prevent items from rolling off. Adjustable feet provide the easiest and most secure solution. |
| The back corners are not 90 degrees. | Decide whether to leave a triangular gap behind the shelf or to custom-scribe the back of the unit to match the wall's angle. For most freestanding units, a small gap is acceptable. | Forcing a square unit into a non-square corner can damage the wall or the unit, while a small gap is often unnoticeable once the shelves are filled. |
Common Issues
- The purchased shelf is slightly too wide.: Before considering major alterations, double-check your measurements and the shelf's actual dimensions. If the difference is minimal, you may be able to carefully trim a small amount from the shelving unit, but this is often not possible. The best fix is to exchange it for the correct size based on your minimum measurement.
- The shelf scrapes the walls during installation.: Protect the walls with painter's tape or thin cardboard during installation. When planning, always subtract a tolerance (e.g., 1-2 cm) from your narrowest measurement specifically to create maneuvering room and prevent this type of cosmetic damage.
- There is a large, uneven gap behind the unit.: This is usually caused by a bowed back wall. If the gap is significant, you can scribe a filler strip of wood to match the wall's contour and attach it to the back of the shelving unit to create a more integrated, built-in look.
Advanced Tips
- Create a physical template of the shelf's footprint from cardboard. If the template fits easily into the alcove, your measurements are likely correct.
- For very deep alcoves, consider installing lighting within the shelving unit. Plan for cable routing and outlet access in your measurement and diagramming phase.
- If the alcove is in a high-traffic area, measure the walkway clearance in front of the alcove to ensure the shelf depth doesn't create an obstruction.
Final Checklist
- Have you recorded width, depth, and height at three separate points each?
- Is the location of every outlet, switch, and baseboard noted on your diagram?
- Have you used the absolute smallest measurement for your final dimensions?
- Did you subtract a small tolerance (1-2 cm) for installation clearance?
FAQ
What is the most common mistake when measuring an alcove?
The most frequent error is taking only one measurement for width, depth, and height. Walls and floors are almost never perfectly flat or square, so relying on a single number often leads to buying or building shelves that are too large for the alcove's narrowest point.
How much of a gap should I leave around the shelves?
A good rule of thumb is to subtract 1 to 2 centimeters from your final minimum width measurement. This creates a small gap (0.5 to 1 cm on each side) that makes installation much smoother, prevents scuffing the walls, and accounts for any minor measurement inaccuracies.
Do I need special tools to measure an awkward alcove?
You don't need highly specialized tools, but you do need reliable ones. A sturdy, metal tape measure is essential. A long spirit level is very helpful for checking floors and walls, and a large framing square is the best tool for accurately checking if corners are 90 degrees.